This is a step-by-step guide to show you how to create a Class and set Assignments. We also have a quick start guide that can be downloaded and shared as a visual reference. We also have a video playlist at the bottom of this guide that shows how all of this is done.
Sign in to Classroom #
Log in to Glow and navigate to your Launch Pad. If your Local Authority has Google Workspace enabled you can add the Google Classroom tile to your Launch Pad by following this guide.

Create a Class #
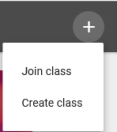
Click the + icon and select Create a class from the drop down list.
Fill in the details for your class and click Create.
Note
You must give your class a name. The other two fields, Section and Subject are optional.

Add students to your class #
You can email a student to invite them to your class or give them a code.
Click Invite Students to add their email addresses. An email will be sent to the student inviting them to join the class. Students will click Join on the classwork page to join the class.

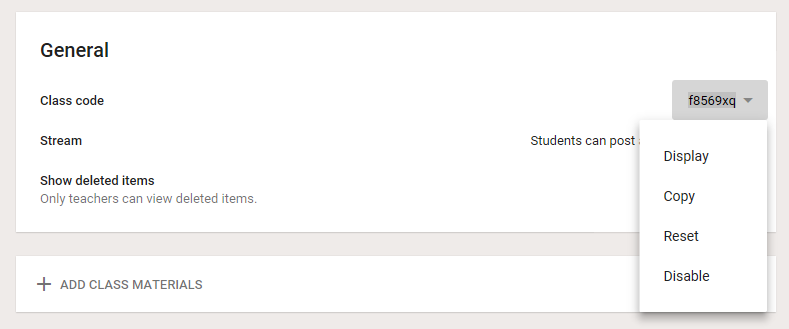
To display the code to the whole class, click on Settings and select Display from the drop down menu beside Class Code.

Add an assignment #
You can create an assignment and post it immediately or schedule it to post at a later date. you can attach files, links and images to the assignment.
However over the + sign at the bottom right hand side of the screen and select Create assignment from the list then take the following steps:


